Pages

Disclaimer

This blog contains some affiliate links and whenever a purchase is made through these links, I receive a small commission. However, I only link products or services that I think would be helpful to my readers and products or services that I myself use or have used and approve of. These small commissions help support our homeschooling and all the great things we share with our viewers. Please note that these commissions do not affect the price of the items.

We are participant in the Amazon Services LLC Associates Program, an affiliate advertising program designed to provide a means for us to earn fees by linking to Amazon.com and affiliated sites.

Tuesday, April 28, 2015

Happy Earth Drawing with Artforkidshub.com!

Did I mention how much we like this website!?! I guess I did huh!! Today, we will share how Little V learned how to draw a Happy Earth just by following the directions given at their website.

Little V started by using a bowl to trace a big circle:


Then, following along with the video she drew a happy face:


Next, she drew the land part of the Earth:


Time to color with oil pastels, starting with the green for the land:


Then, the blue for the ocean:


Then, she cut the Earth and glued it onto a black color construction paper:


Project finalized and a happy girl with a happy Earth!


Cool, right?? We loved it!

Have a great day and thanks for stopping by!

Vanessa Z. Pawlicki

Friday, April 24, 2015

Spaghetti Sauce Shrimp!

This is a great dish for those nights that you don't really feel like cooking, but still would like to have something healthy, delicious and quick to prepare! It's as simple as it could be, all you need for 2 adults and 1 child portion is:

- artisan bread
- 1 lbs of frozen raw shrimp or fresh (your choice)
- 2 tsp of minced garlic (if you really love garlic go ahead and add some more... I do) ;o)
- 1 jar of your favorite spaghetti sauce (mine is Newman's Own Marinara)
- 2 tbsp of olive oil

How did I prepare it? Follow along, please.

Thaw your frozen shrimp in running cold water...


Then, in an appropriate size frying pan, add the 2 tbsp of olive oil, the thawed raw shrimp and the garlic...


Let it cook, just enough time until the shrimp turns opaque in color...


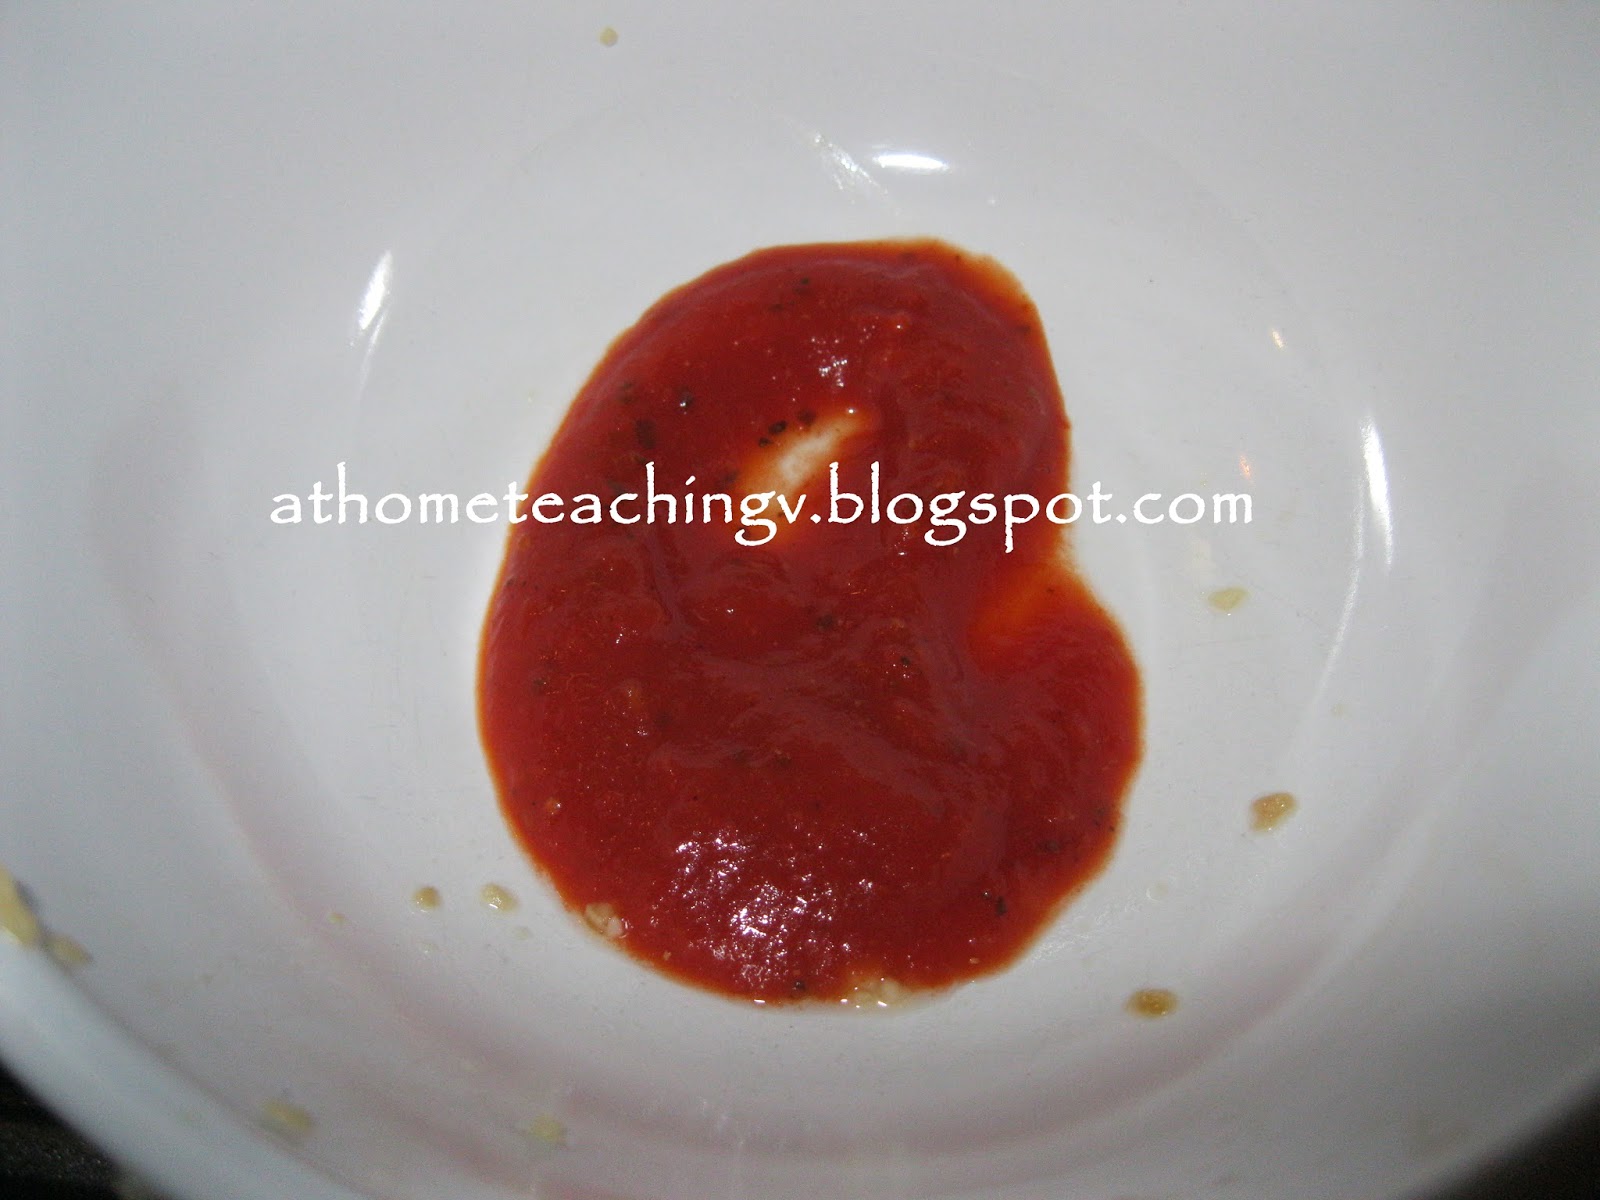
Next, add some spaghetti sauce into a bowl that can go into the oven...


Now, determine the size of each portion and place the shrimp on top of the spaghetti sauce...


Time to cover the shrimp with the remaining spaghetti sauce...


Put it into the oven with the broil on... just enough time to get the spaghetti sauce bubbling... as the shrimp is already cooked, it should take about 5 minutes in the oven with the broil on high.
While the shrimp is broiling, cut your artisan bread into slices...


Once the shrimp is cooked, all you need to do is to serve it and enjoy this quick and yet delicious meal!


Unfortunately the picture doesn't make justice to the greatness of the dish, but you will delight yourself if you make it!

** I'm not a professional cook, I'm just sharing a recipe that I made and tried my best to explain how to make it. If you have any questions, feel free to leave a comment or to send me an e-mail or get in touch through the contact form, I'll do my best to answer as soon as possible. 

Have a great weekend and thanks for stopping by!

Vanessa Z. Pawlicki


Wednesday, April 22, 2015

Claude Monet Unit - Drawing!

In our Unit of Getting to Know the Greatest Artists - Claude Monet, we learned so much about this great artist! He was born in Paris, France, in 1840 and helped invent an important style of paint - impressionism. 

As a lover of water, I personally really enjoyed his paintings as many of Monet's paintings feature boats, oceans, ponds and lakes. Little V also seemed to enjoy his paintings as well, for the same reason. 

In the picture below you can see Little V working on recreating one of Monet's paintings - The Japanese Footbridge, 1899 (The Philadelphia Museum of Art). Instead of oil on canvas, Little V is using cardstock and oil pastels. 


Proud little artist!


For this unit we used the revised version of Getting to Know the Greatest Artists - Claude Monet by Mike Venezia, and I must say that we like the revised version much better than the former version of the books of this series, We loved the timeline, maps and the quiz that was added! This unit is part of the Curriculum we are using  -  Getting to Know the Greatest Artists Vol 1 from Confessions of a Homeschooler. 

Have a great day and thanks for stopping by!

Vanessa Z. Pawlicki

Friday, April 17, 2015

SPRING BREAK highlights!!!

Hello everybody! I do apologize for neglecting the blog this week, we had lots of things happening, most of all taken care now!
As all of you know, we were on Spring Break last week, so I thought it would be fun to close the week with a highlight of the things Little V did last week.

We started the week of fun activities by going to Lambs Farm, if you live in IL and would like to go there, there's a great deal at Groupon going on right now! Little V and her friends had a lots of fun, besides petting the animals they went on a train ride, went on the Mary-go-round, played miniature golf... Believe me you can easily spend the whole day there!!!

Here's a short video of Little V brushing a sheep, it could be a lamb too... I'm not sure!!!


Then, she got a new game - Sudoku with colorful blocks, and as soon as it arrived we had to play with it... she loved it!! You can find this game here.


She asked to have her favorites pancakes at her favorite restaurant, Walker Bros, which was introduced to us by a lovely couple!


We can spend hours at Barnes & Nobles browsing books, checking toys, but Little V's top fun activity  there is to play with the Thomas and Friends train toys:


As they saying goes - the best is for last, we ended the Spring Break with a feast of spiritual food at our Assembly in Romeoville, IL. The friends did an excellent job with the pond and the garden over there... so gorgeous, and the plants weren't even blooming!

That's some of the fun stuff we did!

Have a great day and thanks for stopping by!

Vanessa Z. Pawlicki

Friday, April 10, 2015

Portuguese/Brazilian Style Pizza!

Pizza toppings in Brazil tend to be quite different than what you are used to seeing here, so don't be surprised, although I know you will (believe me, by now I'm used to it). Today I'm sharing one of my favorites pizzas.

It's my version of the Pizza à Portuguesa (Portuguese Style Pizza).


Yes!!! You just saw hard-boiled eggs on the pizza!!! But don't worry, it does taste very good!!! I highly recommend using a pizza stone when making homemade pizza, it just tastes better!

Ingredients for the dough:

- 1 cup of wheat flour
- 1 cup of white flour
- 1/4 tsp of salt
- 1 package of dry yeast
- 2 tbs of olive oil
- 1 cup of warm water
- corn flour

Preparing the dough:

1. Mix all the dry ingredients in a good size bowl (wheat flour, white flour, yeast, salt), then add 1 tbs of olive oil and then the warm water (just warm enough that you can actually touch it). Mix all the ingredients together with a fork.

* Some people like to mix the yeast and the water before adding to the dough, but I'm sharing today how I make it. If you prefer to do that way instead go ahead!

2. With the dough on your counter-top, start kneading it for at least 5 minutes. You will need more flour as you knead it, just make sure you don't add too much, so as to make the pizza dough hard and too dry.

3. Coat the bowl you used to mix the ingredients with 1 tbs of olive oil, then place the dough inside, cover it (kitchen towel, ceramic plastic...), and let it sit for at least 1 hour.

Toppings:

For this exquisite and yet delicious Portuguese/Brazilian Style Pizza I use:

- turkey meat (from the deli)
- mozzarella cheese (sliced or shredded)
- 3 hard-boiled eggs sliced
- 1/2 of a small onion sliced
- sliced black olives
- pizza sauce
- sliced green peppers
- dry oregano

Once the pizza dough has risen, you can stretch it with the rolling pin. Next, spread some corn flour on the pizza peel, then lay the stretched dough on the pizza peel and start adding the toppings!

Make sure your oven is preheated at 500 F, with the stone inside. Now it's time to slide the pizza in and let it bake for 6-8 minutes.

Simple, quick, easy and yummy!

Have a great day and thanks for stopping by!

Vanessa Z. Pawlicki

Wednesday, April 8, 2015

Where did we learn how to draw a skunk?

I found this website through Google + and I must say we simply love it! I use it for arts and crafts in school and Little V loves to spend time learning how to draw new things! We use this website for family time as well, we made origami, we drew Minions, if you like to color, draw and have fun with paper, it's guaranteed that you'll have fun.

I'm talking about Art for Kids Hub! Grab markers, papers, colored pencils and go check their website!

Today, I'm sharing Little V's first experience drawing a skunk, the video with directions and material needed you can  find here.

She basically followed all the instructions given on the video,
it's so well explained and fun to watch!

She started by drawing the skunk with white pencil on black construction paper:


Then, she cut the grass (green construction paper):


Added the "grass" to the sky paper (blue construction paper) and the skunk that she cut also:


Now, time to draw the clouds, the flowers and other details to complete the fun drawing:


Project done and a very happy and proud child!


Hope you enjoyed what I wanted to share with all of you today!


Have a great day and thanks for stopping by!


Vanessa Z. Pawlicki

Friday, April 3, 2015

Letters with Pattern Blocks!

Today, is a very special day, after sundown, we will celebrate the Memorial of Jesus Christ's death - just as he commanded us to do so, in Luke 22:19 when he said "Keep doing this in remembrance of me."

Today, I'll be sharing this really cool activity that I found at Confessions of a Homeschooler, visit her website and download your copy!

What I like about this activity? It's a fun way to practicing the letters using different shapes, and with the response sheet she also practices recognizing shapes and counting them! A great visual-spatial intelligence activity, if you do ask!

Basically, she arranges the shapes in order, as shown below, so as to create the desired image, and later for the response sheet, she counts each of the shapes used and the total of shapes used.


I do like this kind of activity and try to use it as often as possible!


Next week we will be on our SPRING BREAK!!! So glad the weather is getting better and warming up! I'm preparing 2 nice posts for the Spring Break week, and the week after we will be back with many great things to share!

Have a great day and thanks for stopping by!

Vanessa Z. Pawlicki

Thursday, April 2, 2015

Our Days of the Week - Portuguese Calendar

Many of you already know that Little V's second language is Portuguese, so I decided to make her a Days of the Week Wall Calendar in Portuguese. She likes to have them both done together, which is totally fine with me. Hoping to be able to get one about the weather done soon as well.


Here's a close up of how it looks like.


Have a great day and thanks for stopping by!

Vanessa Z. Pawlicki