Pizza toppings in Brazil tend to be quite different than what you are used to seeing here, so don't be surprised, although I know you will (believe me, by now I'm used to it). Today I'm sharing one of my favorites pizzas.
It's my version of the Pizza à Portuguesa (Portuguese Style Pizza).
Yes!!! You just saw hard-boiled eggs on the pizza!!! But don't worry, it does taste very good!!! I highly recommend using a pizza stone when making homemade pizza, it just tastes better!
Ingredients for the dough:
- 1 cup of wheat flour
- 1 cup of white flour
- 1/4 tsp of salt
- 1 package of dry yeast
- 2 tbs of olive oil
- 1 cup of warm water
- corn flour
Preparing the dough:
1. Mix all the dry ingredients in a good size bowl (wheat flour, white flour, yeast, salt), then add 1 tbs of olive oil and then the warm water (just warm enough that you can actually touch it). Mix all the ingredients together with a fork.
* Some people like to mix the yeast and the water before adding to the dough, but I'm sharing today how I make it. If you prefer to do that way instead go ahead!
2. With the dough on your counter-top, start kneading it for at least 5 minutes. You will need more flour as you knead it, just make sure you don't add too much, so as to make the pizza dough hard and too dry.
3. Coat the bowl you used to mix the ingredients with 1 tbs of olive oil, then place the dough inside, cover it (kitchen towel, ceramic plastic...), and let it sit for at least 1 hour.
Toppings:
For this exquisite and yet delicious Portuguese/Brazilian Style Pizza I use:
- turkey meat (from the deli)
- mozzarella cheese (sliced or shredded)
- 3 hard-boiled eggs sliced
- 1/2 of a small onion sliced
- sliced black olives
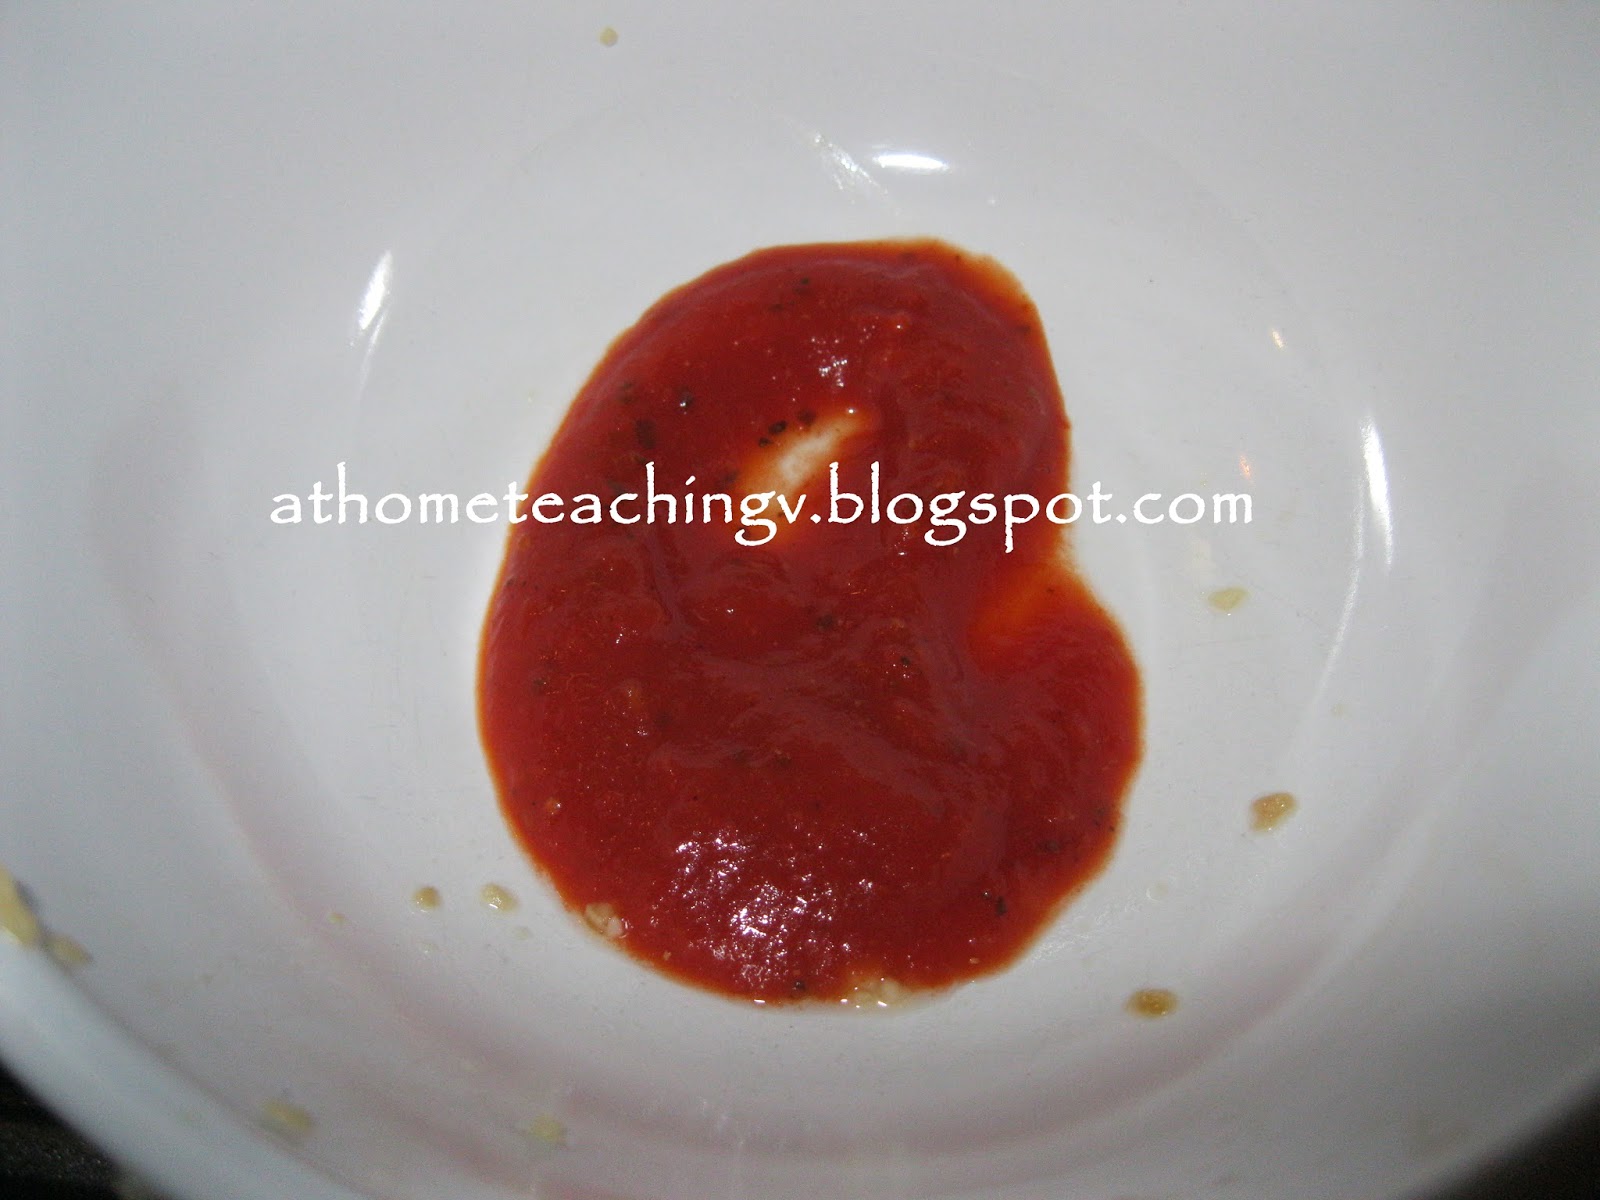
- pizza sauce
- sliced green peppers
- dry oregano
Once the pizza dough has risen, you can stretch it with the rolling pin. Next, spread some corn flour on the pizza peel, then lay the stretched dough on the pizza peel and start adding the toppings!
Make sure your oven is preheated at 500 F, with the stone inside. Now it's time to slide the pizza in and let it bake for 6-8 minutes.
Simple, quick, easy and yummy!
Have a great day and thanks for stopping by!
Vanessa Z. Pawlicki